.png)
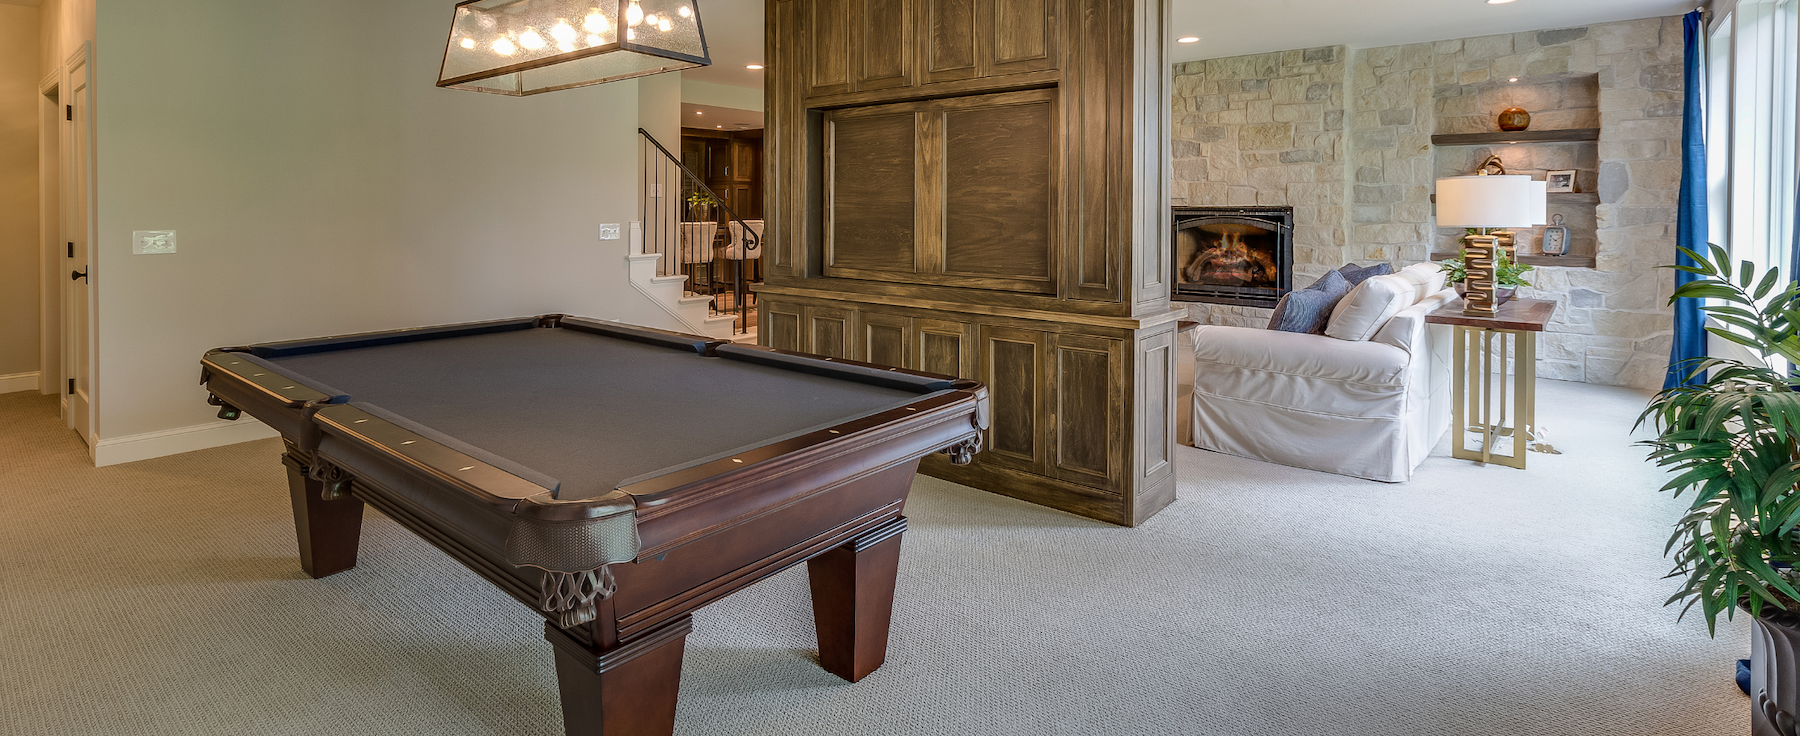
Basement Finishing in Connecticut: Codes, Layouts, Moisture Fixes
A finished basement is one of the best ways to add usable square footage in Connecticut, a home office, gym, guest suite, playroom, media room, you name it. But here’s the truth: basements are not just “another floor.” They’re a moist environment. If you finish a CT basement without solving water, humidity, and airflow first, you risk mold, warped floors, peeling paint, and musty odors that never go away.
This guide shows you how to finish a basement the right way: moisture-first planning, code essentials, insulation strategy, durable materials, and layouts that actually work for everyday life, plus clear checkpoints to keep your project on track. Want a professional plan and a clean build? Start here: Carpentry & Handyman Concepts → Request a Free Quote. Explore what we do: Services · See work: Gallery.
Section 1: The #1 Rule in Connecticut Basements: Moisture First
You can buy the prettiest flooring and lighting on the planet. If moisture isn’t handled first, that money is wasted.
Connecticut basements commonly face:
- Groundwater pressure after storms and snow melt
- Humid summers that raise indoor moisture (even without visible water)
- Cold concrete walls that create condensation in warm indoor air
- Freeze/thaw cycles that open cracks and shift drainage patterns
Basements have two moisture problems:
- Liquid water (leaks, seepage, sump pump overflow)
- Vapor/humidity (musty smell, condensation, mold risk)
A finished basement must be designed to handle both.
Section 2: Quick Basement Moisture Assessment (Do This Before Designing Anything)
Use this checklist to figure out what you’re dealing with:
Look for liquid water issues:
- Damp walls, floor puddles, water stains
- Efflorescence (white powder) on concrete
- Rusting of the bottom of metal posts or stored items
- Staining at floor/wall seam (the “cove joint”)
- The sump pump is running constantly after rain.
Look for vapor/humidity issues:
- Musty smell, especially after rain or in summer
- Condensation on pipes or ductwork
- Moldy cardboard or fabric stored in corners
- Warped wood shelves near exterior walls
- The hygrometer consistently reads above ~55% RH.
Test you can do in minutes:
Tape a 2’×2’ square of plastic to the basement slab for 24–48 hours.
- Condensation under plastic → moisture vapor is coming through the slab.
- Dry under plastic, but the room is still musty → humidity/ventilation issue.
If you want a real-world plan, we can come in, prioritize fixes, and quote the project clearly:Free Quote.
Section 3: Connecticut Moisture Fixes That Actually Work
Step A: Control Water Outside First (Cheapest ROI)
Most basement moisture problems start outside.
Do these first:
- Clean gutters and verify they flow properly
- Extend downspouts 6–10 feet from the house.
- Fix negative grade (soil sloping toward house)
- Clear window wells and foundation drains
These are often quick, affordable fixes that drastically reduce basement moisture. We can bundle these under handyman services, see Services.
Step B: Control Water Inside (Sump + Drainage)
If your basement has a sump pump:
- Test float function
- Verify the discharge line is clear and not dumping near the foundation.
- Consider a battery backup (critical in CT storms when power goes out)
If you don’t have a sump but have recurring water:
- You may need drainage improvements before finishing. We’ll advise based on what we see.
Step C: Control Humidity (Non-Negotiable for Finished Basements)
- Dehumidifier with auto-drain to sump or condensate pump
- Keep RH around 45–50%
- Make sure HVAC supply/return strategy makes sense (or use a dedicated dehumidifier)
Pro move: Plan dehumidifier placement early so it’s quiet, drains properly, and doesn’t become an eyesore.
Section 4: Code Essentials in CT Basements (What Homeowners Need to Know)
Codes vary by town, but the most common issues are:
1) Egress (especially for bedrooms)
If you’re adding a bedroom, you likely need:
- A compliant egress window or door
- Minimum opening sizes and clearances (town code/inspection will confirm)
2) Ceiling Height & Obstructions
Ductwork and beams can reduce usable height. Layout should work with these elements, not against them.
3) Electrical Safety
Basements often require:
- GFCI protection where appropriate
- AFCI requirements for living areas (depending on local adoption)
- Proper spacing of outlets and lighting
4) Smoke & CO
Smoke and CO detectors need to be properly placed. If your basement becomes a “living area,” this matters more.
5) Bathrooms
Adding a basement bathroom requires:
- Plumbing permits
- Vent fan ducted outdoors.
- Proper drain and venting configuration
We can help you understand the scope so you don’t design something that fails inspection halfway through. Start here: Contact.
Section 5: Layouts That Work in Connecticut Basements
Basements are often treated like “extra space.” The best basements are designed like a true floor plan.
The winning CT basement layout formula:
Open Flex Zone + Closed Storage + Mechanical Access
Flex zone ideas:
- Family room / media space
- Gym corner
- Play area
- Home office pod
Closed storage essentials:
- Seasonal bin wall
- Tool closet
- Cleaning closet
- Pantry overflow
Mechanical room access:
- Keep access doors and clearance for servicing the boiler/furnace, water heater, and electrical panels.
Popular layout styles:
1) The “Split Basement.”
- Open rec room + separate office or guest room + storage
2) The “Workout + Lounge.”
- Rubber gym flooring in one zone, carpet/LVP lounge in another
3) The “Guest Suite.”
- Bedroom + egress + bath + small living corner
4) The “Kid-Proof Play Basement.”
- Durable flooring, built-in storage, soft lighting, and washable paint
Want inspiration for built-ins, trim, and finish details? Browse: Gallery
Section 6: Insulation & Wall Systems (Avoid Mold Traps)
This is where basement remodels go wrong.
What NOT to do:
- Fiberglass batts directly against concrete with a poly vapor barrier in the wrong place
This can trap moisture and create mold behind finished walls.
Better CT basement approaches:
- Rigid foam against concrete + framed wall inside
- Closed-cell spray foam at rim joists and selective areas
- Moisture-resistant drywall and a correct vapor strategy
Rim Joist Insulation (Huge Comfort Upgrade)
Rim joists are often a major source of drafts. Proper sealing and insulation here can:
- Reduce cold floors above.
- Reduce basement drafts
- Improve humidity stability
Section 7: Flooring That Survives Basements
Basement flooring needs to withstand moisture.
Best choices in CT:
- LVP (luxury vinyl plank) with correct underlayment
- Porcelain tile in higher moisture zones
- Sealed concrete with rugs
- Rubber flooring for gym zones
Avoid:
- Standard hardwood
- Cheap laminate
- Carpet directly on the slab without a moisture strategy
Pro tip: If you want carpet comfort, use carpet tiles or an insulated underlayment system designed for basements.
Section 8: Lighting and “Basement Feel”
Basements become inviting when lighting is layered properly.
Best lighting strategy:
- Recessed ceiling lights in main zones
- Wall sconces or lamps for warmth
- 2700–3000K bulbs (avoid harsh 5000K)
- Dimmer controls for evening comfort.
If ceilings are low, we avoid bulky fixtures and focus on clean recessed + wall layers.
Section 9: Soundproofing (Worth It in Multi-Use Basements)
If your basement will be a media room or office:
- Sound-damping insulation in ceiling cavities
- Resilient channels in select areas
- Solid-core doors for office/bedroom pods
- Acoustic panels or soft furnishings in media zones
Even small upgrades reduce “echo basement” in the basement and increase resale value.
Section 10: Built-Ins That Make Basements Feel Custom
Built-ins solve the most common basement problem: clutter.
High-value built-ins:
- Media wall with closed storage
- Toy cabinets with labeled bins
- Office built-in desk with file drawers
- Under-stair storage pullouts
- Mudroom-style lockers if the basement is a frequent entry
Our carpentry background is what turns basements into true living spaces. See our craftsmanship: About · Services.
Section 11: Basement Finishing Budget in CT (How to Plan Without Surprises)
Basement costs vary mainly by:
- Moisture remediation needs
- Bathroom additions (big cost driver)
- Egress requirements
- Amount of drywall/framing
- Flooring type
- Built-ins and trim packages
Ballpark ranges:
- Basic finish (open room + lighting + flooring): $25k–$55k+
- Multi-room finish with office/bedroom pods: $45k–$85k+
- Finish + bathroom + egress upgrades: $70k–$130k+
We can build a phased plan, so you finish the space first, then add built-ins or a bathroom later.
Section 12: Common Basement Finishing Mistakes (and How to Avoid Them)
- Finishing before solving moisture
- No dehumidifier strategy
- Flooring not basement-rated
- Blocking mechanical access
- Over-compartmentalizing the basement into small, dark rooms
- No storage plan → clutter returns immediately
- Poor lighting temperature (too cold / too dim)
FAQs
Do I need permits to finish a basement in CT?Often yes, especially if adding walls, electrical, or bathrooms. Your town will confirm.
How do I keep a basement from smelling musty?Moisture control + dehumidifier + correct wall system + airflow.
What’s the best basement flooring?LVP and tile are common winners. We’ll recommend based on your moisture risk.
Can you add built-ins and storage systems?Yes, built-ins are one of our specialties, and they make basements feel finished.
Ready to Finish Your Basement the Right Way?
Basements can be incredible in Connecticut when they’re built with moisture, code, and comfort in mind. If you want a plan that won’t fail in two winters, let’s do it right from the start.
Call us today to get a free quote.
Carpentry & Handyman Concepts
Explore: Services
Start Planning Your Project With A Free Quote!
Book Your Free EstimateRead our latest blog


Flexible Financing With Klarna
We’ve partnered with Klarna to make your next project stress-free. Split your payments into easy installments, enjoy transparent pricing, and get the home upgrades you need now, without waiting.
.png)
Customer Reviews
"Thank you so much, I am very pleased with your work. All of the doors look great. I appreciate your suggestion to do all of the doors, including the inside doors. Much more elegant. You have a great team."
-Susan K.
"Dave was very easy to work with and his prices were reasonable. He would come by to check on his crew and the job. I would definitely recommend Carpentry and Handyman Concepts."
-Kathy L.
"David, and his team are highly skilled pro’s and very knowledgeable about the business, they do an excellent job! I highly recommend them if you are in need of Carpentry And Handyman services."
-Blaine B.
"I would highly recommend Dave from Carpentry and Handyman Concepts. They were efficient, professional, and very knowledgeable. I will definitely have them back at my house for my next project."
-Ashley R.
"Dave and his guys did a great job on a couple of jobs I needed done. So great that I’ve already referred them to someone else! I will definitely be using them again."
-Pam F.
"I would hire David Grecco again in a heartbeat. They were professional, experienced, and good people. I will definitely use him again! Thank you, Linda"
-John O.

Our Location & Business Information
Proudly serving Fairfield County, CT, including Norwalk, Westport, New Canaan, Darien, and Wilton. We deliver licensed, insured, and reliable carpentry, remodeling, and handyman services.