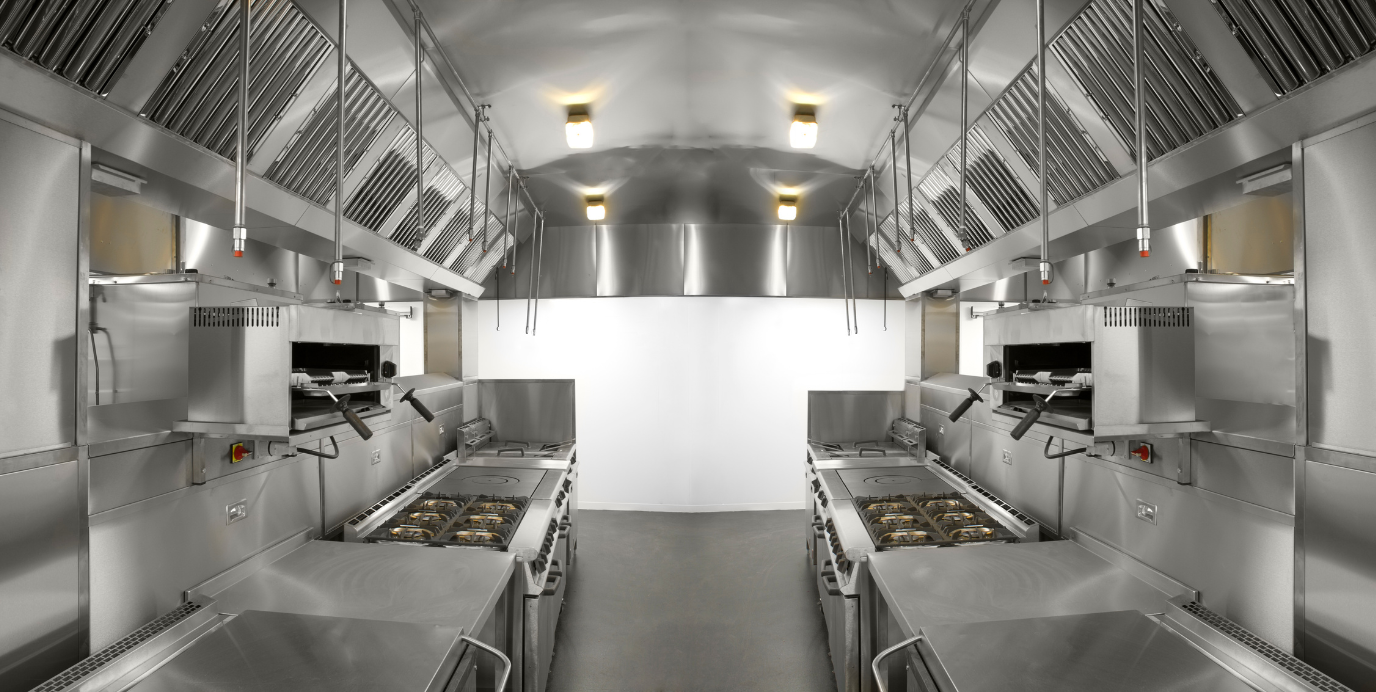
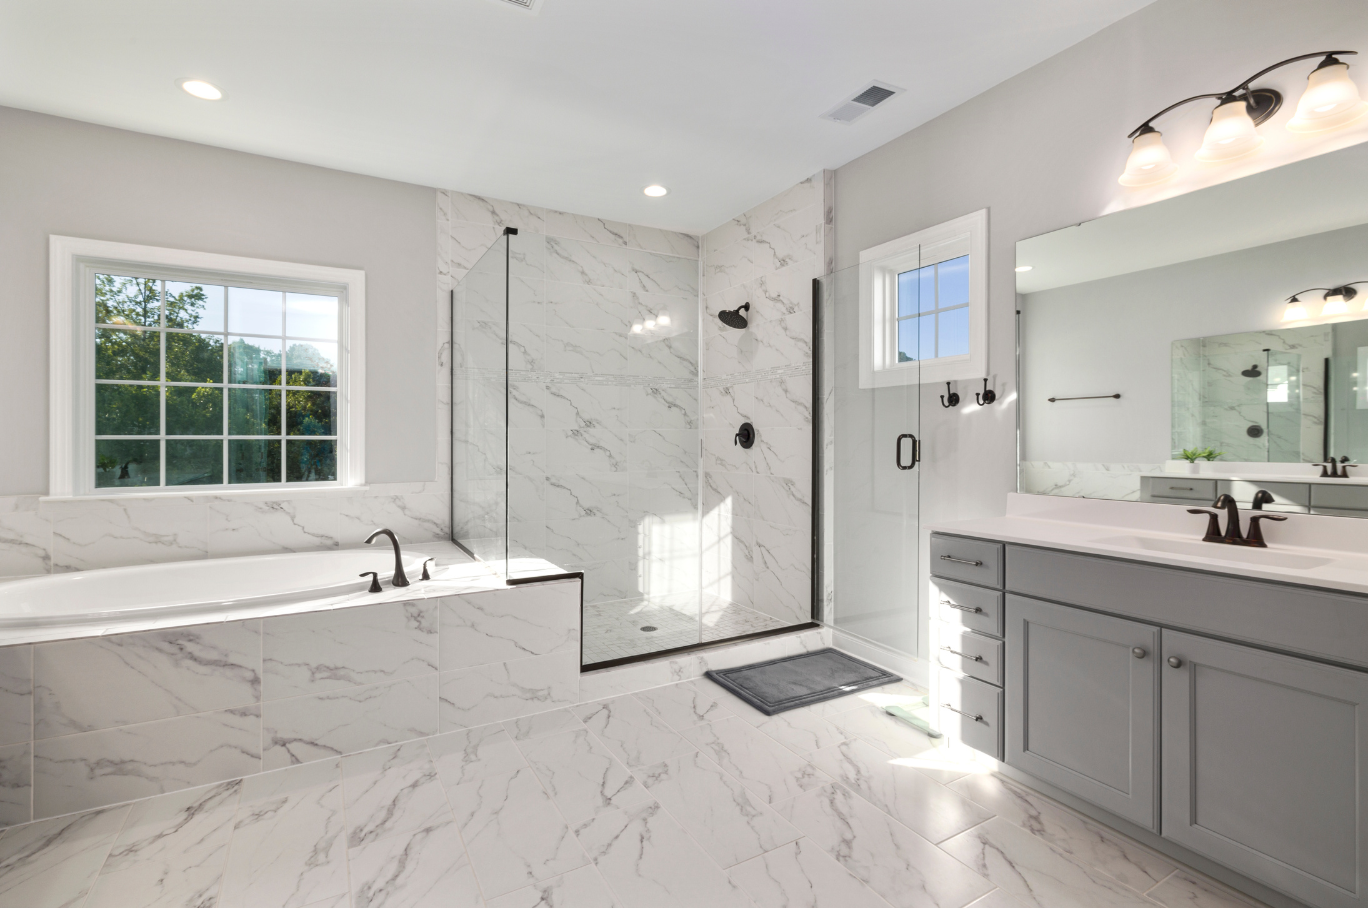
Industrial style is honest, tough, and unfussy, a mix of metal, wood, and masonry that wears well and looks better with age. When tailored for Connecticut homes, it reads clean and modern without feeling cold. This guide covers layouts, materials, finishes, lighting, storage, and cost-saving tactics, plus the installation details that make an industrial kitchen feel intentional, not improvised.
Need flawless shelf blocking, panel scribing, or brick veneer terminations? Carpentry & Handyman Concepts is licensed & insured and known for clean, precise work.
Get a free quote → Carpentry & Handyman Concepts.

Start with the Plan: Flow + Surfaces that Work Hard.
- Aisles: Aim for 42”–48” between island and perimeter for two-cook comfort.
- Zones: Keep prep near the sink, cook at the range, clean at the dishwasher; add a coffee/utility zone to corral small appliances.
- Peninsula vs. Island: In narrower CT kitchens, a peninsula preserves sightlines and seating without tight aisles.
Industrial Materials (and Where They Make Sense)
1) Metal
- Stainless steel counters near the range or prep zone: heatproof, hygienic, truly industrial.
- Blackened steel or powder-coated accents for legs, shelf brackets, or a vent hood band.
- Hardware: matte-black or brushed-stainless bar pulls keep lines crisp.
2) Masonry & Brick
- Thin brick veneer or whitewashed brick as a feature wall or backsplash.
- Transition cleanly into cabinets/hoods with finished edges and appropriately sized returns.
3) Concrete & Stone (the easy-care way)
- Concrete-look quartz or porcelain slabs deliver the aesthetic without sealing headaches.
- Use honed finishes to reduce glare and fingerprints.
4) Wood (to warm it up)
- Reclaimed or rift-sawn oak for shelves, islands, or hutch tops.
- Choose matte oil or low-sheen finishes; avoid orange stains.
Cabinets & Finishes: Tough, Straightforward, Cohesive
- Door style: slab or Shaker with square edges.
- Colors: graphite, matte black, mushroom, or warm white; two-tone with a wood island works well.
- End panels & toe kicks: keep them flush and clean; add a subtle reveal line for shadow detail.
Installer’s note: Industrial style exposes lines, reveals gaps, and should be consistent within ±1/32”. We scribe to out-of-square walls so seams disappear.
Open Shelving (Done Right)
Industrial design often features exposed storage. Make it durable:
- Shelf thickness: 1¼”–1½” to prevent sag.
- Brackets: steel L or hidden rods tied into solid blocking, no drywall toggles for heavy loads.
- Placement: keep shelves 24–36” per run for strength and proportion.
Counters & Backsplash Combos
- Perimeter: concrete-look quartz + 4” upstand for utility, or go full-height slab for a seamless look.
- Island: butcher block (oiled) to add warmth, or stainless for a chef’s table vibe.
- Backsplash: thin brick, large-format porcelain, or oversized subway (3×12) with tight grout.
Grout: choose charcoal or warm gray for low-maintenance, industrial appeal.
Lighting: Factory-Inspired, Layered, Dimmable
- Ambient: low-glare recessed with wide beam spread, no spotlight scallops.
- Task: continuous under-cab LEDs (3000K) for even counter light.
- Accent: enamel warehouse pendants, caged sconces, or linear fixtures in black/steel.
- Controls: dim everything; set scenes (Prep / Dinner / Night).
Appliances & Hood
- Stainless ranges and induction cooktops both fit the look; the latter keeps lines sleek.
- Pro-style hood or plaster/steel-clad with a trim band.
- A panel-ready dishwasher can quiet the room if you’re using lots of metal elsewhere.
We coordinate insert specs, duct runs, and makeup air early so the hood performs and the finish looks intentional.
Floors Built for Real Life
- Wide-plank white oak (natural matte) balances cool metals with warmth.
- Large-format porcelain (concrete or stone-look) is bulletproof and radiant-heat-friendly.
- Keep grout tight and color-matched for easy cleaning.
Cost-Saving Tips (Where to Splurge, Where to Save)
Splurge On:
- Cabinet boxes/hardware (daily touch points).
- Lighting/electrical for proper task light and dimming.
- Precision carpentry, level boxes, scribed panels, and aligned reveals make everything look premium.
Save On:
- Use concrete-look quartz instead of poured concrete.
- Choose thin brick veneer over full-depth brick.
- Refinish or reface solid cabinet boxes with new slab doors and panels.
- Combine open shelves with fewer uppers (only if storage still works).
- Pick stock-sized panels where possible; reserve custom work for focal areas.
Sound, Smudge & Safety (Practical Considerations)
- Acoustics: metal + tile can echo; add rugs, fabric stools, or wood accents.
- Fingerprints: choose super-matte cabinet finishes and honed counters.
- Edges: ease metal/stone edges slightly to reduce dings and chips.
- Child safety: mount open shelves above reach and secure all brackets to the blocking.
Connecticut-Specific Installation Notes
- Old walls, new lines: we shim and scribe for laser-straight reveals in older homes.
- Seasonal movement: allow for expansion on long wood runs and slab seams.
- Venting & code: range CFM and makeup air may require permits; we coordinate with your GC and inspectors.
Industrial success lives in the seams: straight lines, solid blocking, clean terminations. We handle the details so the room feels intentional.
Talk installation details → Carpentry & Handyman Concepts
Common Mistakes (and Easy Fixes)
- Too many finishes—limit to 3–4 core materials.
- Fake patina overload—choose one distressed element; keep the rest clean.
- Gloss everywhere—use matte/satin to minimize smudges and glare.
- Under-lit counters—continuous LEDs solve the patchwork.
- Open shelves with no blocking—retrofit solid blocking or use rail systems.
- Forcing an island—consider a peninsula to protect circulation.
Quick Specs (Industrial Edition)
- Aisles: 42”–48”
- Island overhang: 12”–14”
- Upper height: 36”–42”; terminate with a slim crown or square top
- Toe kick: ~4”–4.5”
- Under-cab LEDs: 3000K continuous strips
- Shelf thickness: 1¼”–1½” with steel brackets/rods into blocking
- Brick veneer: finish with returns/caps where edges are exposed
Real-World Upgrade Ideas
- Stainless worktop along a prep wall + butcher block island—best of both worlds.
- Thin brick feature wall with a steel-banded hood—strong focal point.
- Open shelf hutch with black steel brackets and rift-oak shelves—warm, functional storage.
- Linear factory pendant centered on the island—clean lines, great task light.
Our Process (Fast, Clean, Professional)
- Free Quote & Guidance: Send measurements + inspiration; we’ll map materials and lighting.
- Site Measure & Plan: We finalize cabinet specs, shelf blocking, veneer terminations, and lighting runs.
- Build & Install: Scribed panels, straight reveals, safe shelf loads, and tidy wiring.
- Walkthrough & Touch-Ups: Door tuning, caulk/paint, grout sealing, and dimmer scenes.
FAQ
Will an industrial kitchen feel cold?
Not if you balance metal and masonry with warm wood, matte finishes, and layered lighting.
Are stainless counters hard to live with?
They patina (light scratches blend over time) and clean quickly, making them perfect for serious cooks.
Can I do brick without heavy demo?
Yes, thin brick veneer looks lighter and cleaner.
Do open shelves always sag?
Not with proper blocking, correct brackets/rods, and thicker shelves.
The Bottom Line
Industrial kitchens succeed when materials are honest and installation is precise. Keep lines clean, limit finishes, light the work zones well, and use wood to warm the metal and masonry. With thoughtful design and careful carpentry, your Connecticut kitchen will feel confident, durable, and easy to live with, day after day.
Call us today to get a free quote: Carpentry & Handyman Concepts.
Start Planning Your Project With A Free Quote!
Book Your Free EstimateRead our latest blog
Flexible Financing With Klarna
We’ve partnered with Klarna to make your next project stress-free. Split your payments into easy installments, enjoy transparent pricing, and get the home upgrades you need now, without waiting.
.png)
.png)

.png)

