.png)
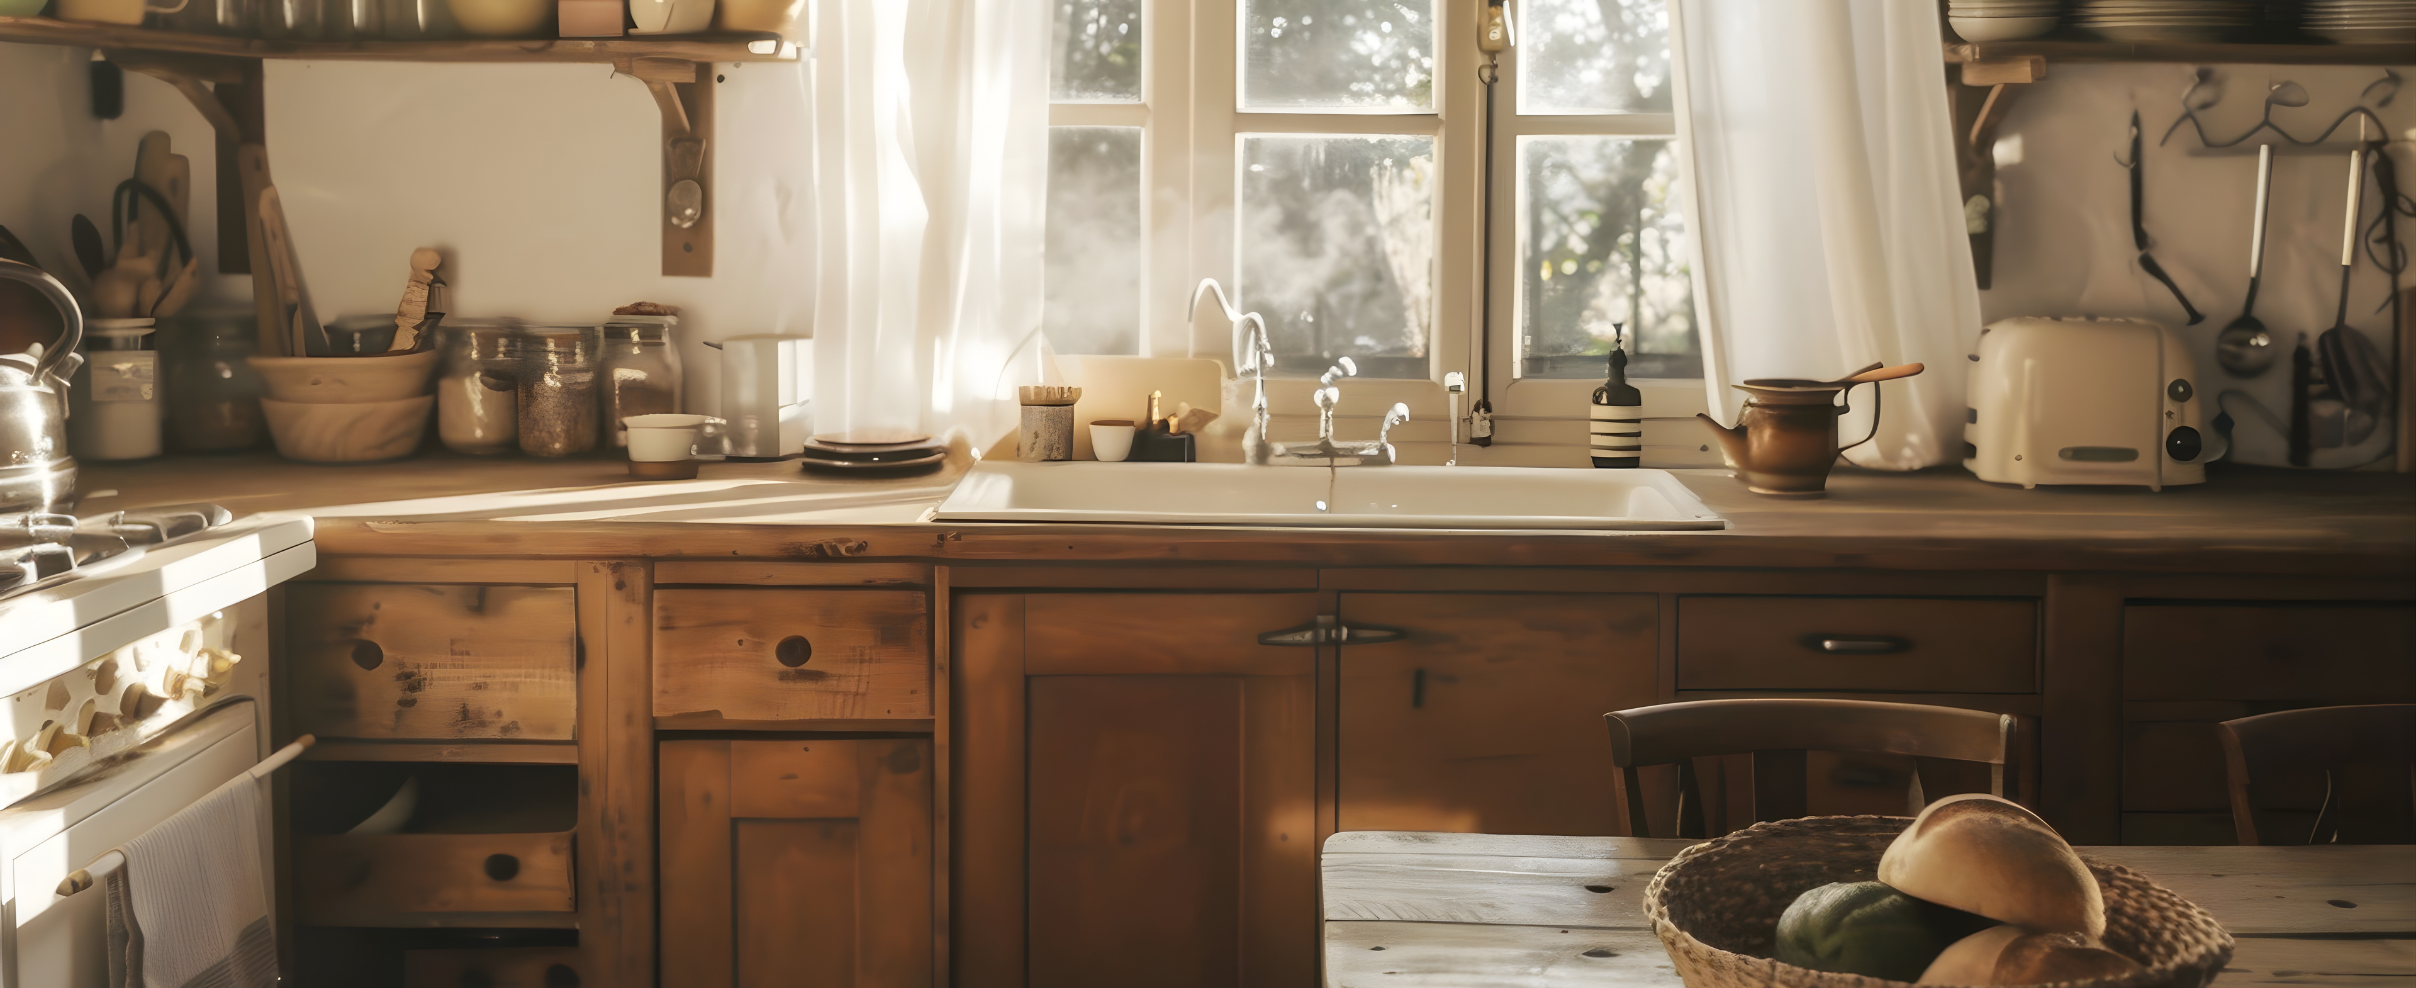
Old-World Kitchen Design: European-Inspired Ideas for Connecticut Remodels
Old-world kitchens feel like they’ve been added to slowly, stone by stone, board by board, yet function beautifully for modern life. For Connecticut homes, the magic is translating European texture and craft into spaces that fit our climate, architecture, and daily routines. Think honed stone, lime-wash or plaster walls, inset cabinetry, warm woods, handmade tile, iron or brass hardware, and gentle arches, all installed with a level of precision that reads as custom rather than costume.
Suppose you want artisan details executed cleanly (arched casings, scribed end panels, tight crown and beam wraps), partner with a team that lives in the details: Carpentry & Handyman Concepts. Explore what we do on our Services page or see before/after work in the Gallery.
The Old-World Palette: Warm, Layered, Sun-Softened

Old-world color is quiet and warm. Start with creamy whites, linen, sand, pale stone gray, and add accents like sage, muted indigo, or terracotta. Metals skew to unlacquered brass, antique brass, or blackened iron. Choose one hero and, at most, one supporting finish so the room feels collected, not chaotic.
- Walls: lime-wash, mineral paint, or fine plaster for a softly mottled glow.
- Cabinetry: warm paint or stain-grade white oak/walnut on the island/hutch.
- Stone: honed marble or limestone; if you prefer low-maintenance, choose honed marble-look quartz with subtle veining.
Pro move: Connecticut daylight runs cool. Favor warm whites and matte finishes so stone and wood read natural year-round.
Layouts that Feel Historic, and Work Today
European country kitchens weren’t designed on CAD; they evolved around work. Mimic that functional logic:
- Clear Work Triangle or Purposeful Zones
- Keep sink–range–fridge easy, or set prep/cook/clean/coffee/bake zones so tools live where you use them.
- Aisles & Seating
- Aim for 42”–48” between island and perimeter; if the room is tight, choose a peninsula to preserve symmetry and seating.
- Sightlines & Focal Points
- Center the sink on a window and scale the hood to anchor the range wall. Frame the view with balanced uppers.
Need help deciding if an island or peninsula fits? Send quick dimensions, our Kitchen Remodeling team will sketch options and flag carpentry implications (fillers, scribing, hood width, beam spacing).
Cabinetry: Inset, Paneled, and Proportioned
Old-world kitchens read as furniture, not boxes. Choose inset Shaker or simple recessed panel doors with square or gently eased edges. Pair with:
- Beaded face frames (optional) for period-correct detail.
- Paneled ends, light rail to hide LEDs, and furniture feet at islands/hutches.
- Crown molding scaled to ceiling height (leaner on 8’, layered on 9’+ when appropriate).
Installation is everything. We level boxes, scribe panels to imperfect walls, and keep reveal gaps tight (±1/32”). These tolerances make painted cabinets look tailored and stained cabinets look fine-furnished. Learn more about our finished work on Custom Carpentry.
Stone, Tile & Plaster: Texture Is the Story
Counters:
- Honed marble/limestone (Danby, Carrara) for authentic patina.
- Honed quartz if you want the look with less upkeep.
- Edges: eased, small ogee, or shallow bevel, nothing too crisp or flashy.
Backsplash & Walls:
- Zellige-style tile (2×6, 2.5×8, 4×4) with close-toned grout for shimmer without grid lines.
- Tumbled travertine or honed limestone in a brick set for a “found” feel.
- Plaster around the hood and open walls for soft movement; seal appropriately near splashes.
Feature moment: A framed niche behind the range with a herringbone stone inset or a small panel of patterned cement tile (used sparingly).
Hood, Arches & Beams: The Architectural Moves
Plaster-Clad Hood
- Gentle radius, trimmed with a stone or wood band.
- Width: cooktop width to +6” total feels generous without swallowing uppers.
- Terminate into the ceiling or crown cleanly with a subtle reveal.
Arches
- Use at pass-throughs, hutches, or hoods. Keep the spring line high enough for headroom (80–84” +) and match curves across the room for cohesion.
Beams
- Box beams (rift oak or alder), 5”–7” deep on 8’–9’ ceilings, spaced 4.5’–6.5’ on center.
- Hand-scraped or wire-brushed matte finish—never glossy.
- Hide pendant wiring within beam boxes to keep lines clean.
Our crew sizes arches and beams to your ceiling height and window rhythm, then scribes intersections so shadows are tight and transitions look intentional. See casework examples in the Gallery.
Hardware & Metals: Solid and Tactile
Select shapes your hand loves: cup pulls and round knobs (or small latches) with some heft. Finishes that sing with old-world materials:
- Unlacquered brass that develops a soft patina.
- Polished nickel for a bright, classic sheen.
- Oil-rubbed bronze/blackened iron for quiet contrast.
Commit to one hero and one supporting finish between hardware, faucet, and lighting.
Lighting: Golden Hour on Demand
- Ambient: low-glare recessed or linen-shade semi-flush fixtures.
- Task: continuous under-cabinet LEDs at 2700–3000K to flatter stone and paint.
- Accent: aged brass or iron pendants, small picture lights over hutches, and toe-kick LEDs for a floating night glow.
Put everything on dimmers, then save Prep / Dinner / Late Night scenes so the room shifts with your day.
Storage That Looks Collected, Works Like New
- Full-height pantry with roll-outs (no black-hole shelves).
- Deep drawers for pots; tray dividers by ovens; spice pullouts flanking the range.
- Appliance hutch with pocket/bifold doors; charging drawer inside.
- Open shelves, thicker (1¼ “–1½”) with hidden steel brackets, only for daily-use items.
We’ll map these features during your Kitchen Remodeling consult so storage feels effortless and the exterior reads calm.
Floors & Thresholds: Grounded, Not Heavy
- Site-finished white oak with warm matte stain plays beautifully with plaster and stone.
- Terracotta or stone-look porcelain for mudroom or pantry runs (sealed and radiant-friendly).
- Keep transitions flush and beveled to avoid trip points.
Budget-Smart Ways to Get the Old-World Look
Splurge: cabinet boxes/hardware, lighting/electrical, plaster hood and beam carpentry, and precision installation.
Save: honed marble-look quartz over real marble; porcelain terracotta-look where water/salt are concerns; limit arched glass doors to a hutch; use open shelves in place of a few uppers (if storage math still works); reface good cabinet boxes with new doors/panels.
For scoped options and costs, start a free estimate on our Contact page or call from the About page.
Connecticut-Specific Install Notes
- Old plaster & lath = wavy surfaces; we scribe panels, plaster edges, and crown for tight shadows.
- Seasonal movement affects long wood runs and inset doors; our reveals account for expansion.
- Venting & code: range CFM/makeup air and electrical updates may require permits; we coordinate with your GC and local officials.
Our Process (Concise)
- Discovery & Free Quote: Share photos/measurements; get ideas + ballpark.
- Site Measure & Plan: Lock reveals, hood/arch geometry, tile layout, beam sizing.
- Build & Install: Clean site, scribed panels, coped crown, tuned doors.
- Walkthrough & Touch-Ups: Dimmers, caulk/paint, stone sealing, final alignment.
Call us today to get a free quote: Carpentry & Handyman Concepts.
Start Planning Your Project With A Free Quote!
Book Your Free EstimateRead our latest blog

Flexible Financing With Klarna
We’ve partnered with Klarna to make your next project stress-free. Split your payments into easy installments, enjoy transparent pricing, and get the home upgrades you need now, without waiting.
.png)
Customer Reviews
"Thank you so much, I am very pleased with your work. All of the doors look great. I appreciate your suggestion to do all of the doors, including the inside doors. Much more elegant. You have a great team."
-Susan K.
"Dave was very easy to work with and his prices were reasonable. He would come by to check on his crew and the job. I would definitely recommend Carpentry and Handyman Concepts."
-Kathy L.
"David, and his team are highly skilled pro’s and very knowledgeable about the business, they do an excellent job! I highly recommend them if you are in need of Carpentry And Handyman services."
-Blaine B.
"I would highly recommend Dave from Carpentry and Handyman Concepts. They were efficient, professional, and very knowledgeable. I will definitely have them back at my house for my next project."
-Ashley R.
"Dave and his guys did a great job on a couple of jobs I needed done. So great that I’ve already referred them to someone else! I will definitely be using them again."
-Pam F.
"I would hire David Grecco again in a heartbeat. They were professional, experienced, and good people. I will definitely use him again! Thank you, Linda"
-John O.

Our Location & Business Information
Proudly serving Fairfield County, CT, including Norwalk, Westport, New Canaan, Darien, and Wilton. We deliver licensed, insured, and reliable carpentry, remodeling, and handyman services.